


 English
How to Install a Motorized Light Lift for High Ceiling Lighting Systems
February 12, 2026
A motorized Light Lift is a practical solution for maintaining lighting fixtures installed in high or hard-to-reach ceilings. In large commercial spaces such as warehouses, churches, gyms, theaters, shopping malls, and exhibition halls, traditional maintenance methods often require scaffolding, cranes, or cherry pickers. These approaches are time-consuming, expensive, and risky. A Light Lift eliminates these issues by allowing fixtures to be safely lowered to ground level for servicing and then raised back to their original position. Understanding the correct installation process ensures smooth operation, long service life, and maximum safety.
Understanding the Structure of a Light Lift System
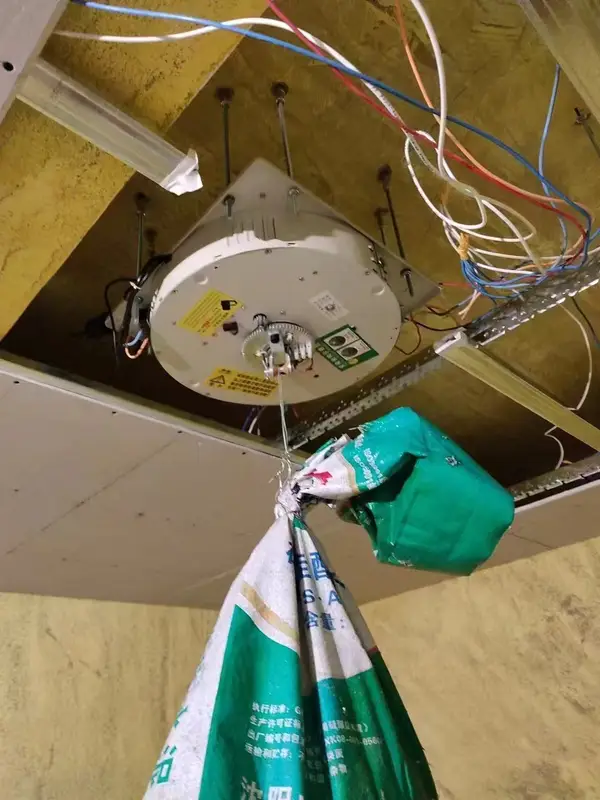
A motorized Light Lift system is made up of a drive motor, steel suspension cable, pulley mechanism, mounting frame, limit switches, and a control unit. Together, these components create a reliable lifting system that can support heavy luminaires while offering stable and precise vertical movement. When sourced from a professional light lift manufacturer, each component is engineered for durability, load capacity, and safety compliance. Choosing a quality system from the beginning reduces installation complications and minimizes future maintenance.
Choosing the Right Installation Location
Before installing a Light Lift, it is essential to evaluate the ceiling structure. The mounting surface must be capable of supporting both the weight of the fixture and the lift mechanism. Steel beams, reinforced concrete, or load-bearing trusses are ideal mounting points. Sufficient vertical clearance should also be available so that the Light Lift can fully lower and raise the lighting fixture without obstruction. Proper planning at this stage prevents alignment issues and ensures the system operates smoothly.
Preparing Tools and Safety Measures
Installation requires basic tools such as a drill, anchor bolts, cable clamps, a level, and wiring connectors. Safety equipment including gloves, helmets, and insulated tools should always be used. Power must be shut off before any electrical connections are made. Since a Light Lift will carry a significant load, all hardware must be secured tightly and inspected before powering the system.
Mounting the Light Lift Bracket and Motor
The first physical step is fixing the mounting bracket to the ceiling structure. This bracket is the main support for the entire Light Lift system, so precise alignment is critical. Once secured, the motor unit is attached to the bracket. The motor should be firmly bolted and tested for stability. A trusted light lift factory typically provides pre-assembled components that simplify this stage and ensure accurate fitment.
Installing the Suspension Cable and Fixture
After the motor is mounted, the steel cable is fed through the pulley system. The end of the cable is then connected to the lighting fixture. The cable must be straight, properly tensioned, and free from twists. This ensures smooth vertical movement and reduces wear over time. A correctly installed Light Lift allows the fixture to remain balanced and stable during operation.
Wiring and Control System Setup
The control unit is installed on a nearby wall or connected to a remote control system. It is wired directly to the Light Lift motor following the manufacturer’s diagram. Once connected, the system is tested without the fixture first to confirm that the motor runs smoothly. After this test, the fixture is attached and raised slowly to check alignment and stability.
System Testing and Adjustment
With the fixture connected, the Light Lift should be raised and lowered several times. The movement should be smooth, quiet, and free from jerks. Limit switches should stop the lift automatically at the highest and lowest points. If any irregular movement is observed, adjustments must be made before regular operation begins. Proper testing guarantees reliable performance for years.
Long-Term Benefits of Using a Light Lift
A motorized Light Lift reduces labor costs, improves worker safety, and minimizes downtime. Instead of hiring lifts or scaffolding, one person can service high-mounted lights in minutes. Businesses that invest in systems from a professional light lift company gain access to technical support, customization options, and long-term reliability.
Maintenance and Safety Guidelines
Routine inspection of the cable, motor, and mounting points ensures the Light Lift continues to perform safely. Overloading the system should always be avoided, and only trained staff should operate the controls. Regular maintenance not only extends equipment life but also protects valuable lighting fixtures.
Conclusion
Installing a motorized Light Lift is a smart upgrade for any facility with high ceilings. From warehouses to churches and commercial atriums, this system transforms how lighting maintenance is performed. When sourced from a trusted manufacturer and installed correctly, a Light Lift provides safety, efficiency, and long-term cost savings while making high-level lighting accessible and manageable.